
How To Hang A Gallery Wall 101

Hanging a gallery wall can be an intimidating task for sure. It requires a lot of precise measuring and simple math that never really seems all that simple at the time - ha! And unless you have a good strategy it can be hard to get it right. BUT the good news is that there is a system to it and if you follow these steps carefully it’s basically just a lot of doing the same thing over and over . Girl, you got this!


What you will need:
Hammer
nails or art hooks
pencil
level (optional)
pony tail holder (not optional)
The first thing to do in hanging a gallery wall is to decide on your gallery style and artwork. This seems like a given… but depending on the artwork you choose, or the wall you are using, or just your personal design style you may want to go with various gallery layouts. For example, if you have a mix of various art in different sized frames, you may not want to do a gallery wall where you hang the pieces in a row or symmetrically. (For this tutorial I have decided to teach you by using a gallery that IS symmetrical because it is easier to understand the steps that way.) So first select your art, decide on your style and layout then you will be ready to get hanging!
Note: If you are doing an asymmetrical mix-matched style gallery I suggest playing around with the layout of the frames on the floor to get the right balance. Then you can cut paper in the size of those frames and tape them to the wall so that you can make adjustments prior to doing any nailing.

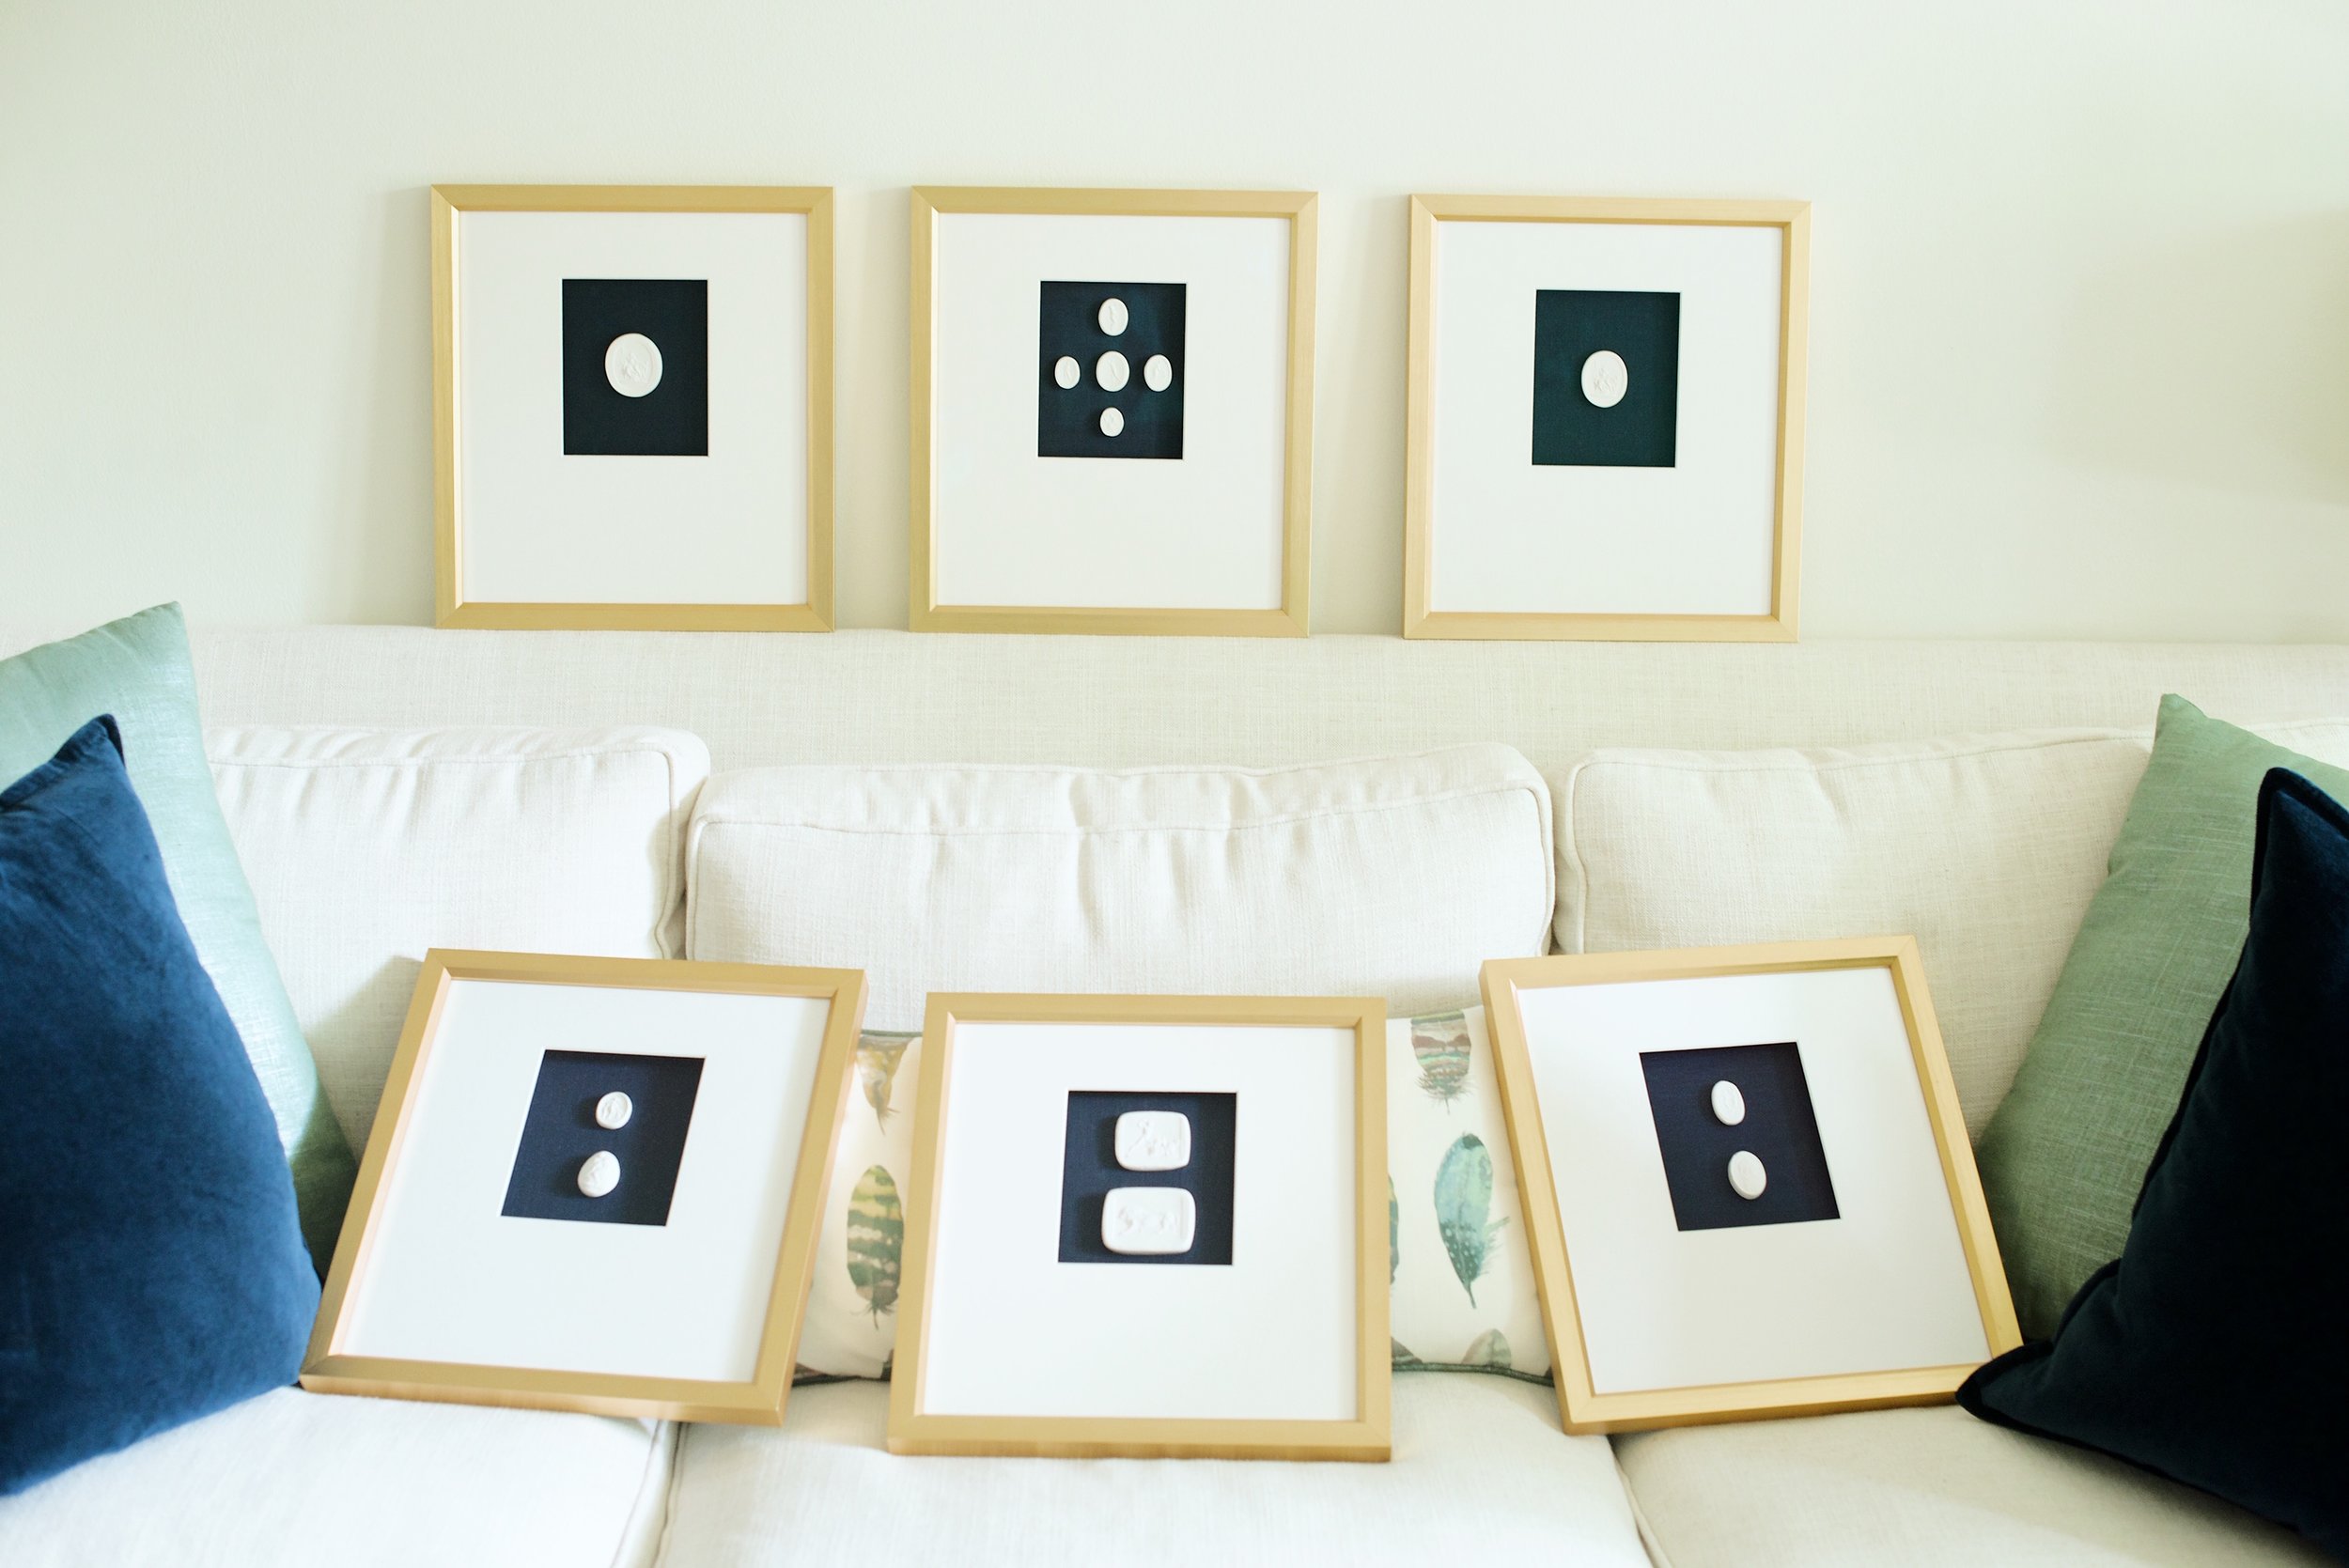
We blocked out the layout on the sofa since this gallery would be hanging above it. This helped us also determine which piece went in which space too.

Next, choose your arrangement and spacing. First we laid the artwork out to decide which ones we wanted on the top, middle, right, etc. to get the balance right. Then determine how you want to space the pieces both vertically and horizontally between each other. Take into consideration the gallery as a whole (as if it was one large piece of art) in relation to your wall and furniture. How high do you want the whole thing on the wall? How tall and wide do you want it to be overall in the space?
Note: A good rule of thumb for a symmetrical gallery with frames that are roughly 15”x20” is about 3” between them both vertically and horizontally. But again, space it out and determine with your own eye.
The 3 steps to measuring:


Once you have determined your spacing, you are ready to start measuring. There are 3 steps to measuring. Do not skip any of these or wing them. This an exact science - trust me. You will also start in the center of your gallery and work your way outward on both sides.
Starting with your center piece… make a small pencil mark where the center of that piece is. Then moving outward for the other pieces you will measure to the center of those from the edge of the center piece, plus adding the additional inches for your spacing in between.
This is the most important step (and most people don’t know about it!) If your artwork has wire for hanging on the back you will need to measure each and every individual piece for your vertical measurement. Even if the pieces are uniform in size, wire tends to give a little and can make your pieces fluctuate in how they hang vertically. So, for each piece pull the wire tight with your finger and measure from the bottom/center of the piece to where the wire peaks. You’ll be surprised how it may differ by a 1/4” or even 1/2” between pieces.
Now it’s time for some math. Take the measurement you just got from the frame itself (step 2) and add it to the inches that you have determined for your vertical spacing on the wall. Using the mark you made for the center of your piece as a guide, measure vertically to the total number of inches you need for the nail height. For example: we hung these 8” above the back of the sofa. The frame measured 11.5” from the bottom of the frame to the top of the tight wire. So I measured 19.5” vertically along the center mark to make my nail hole. Make sense?


Do these steps for the entire row. When you are ready to move up (or down) a row you will need to factor in the vertical spacing that you have allowed between rows and make your measurements for the current row from the previous row. For our gallery wall we wanted the top row to be 3” above the bottom row. So I took the measurement of the bottom of the frame to the top of the wire (step 2), then aded 3” to it for spacing and measured from the top of where the bottom row frame was already hanging.

Once you have all of your frames in place you can use a level (or just eyeball it) to make sure that they all look like they are hanging straight and even. Then you’ll be able to see where you may want to make adjustments here and there. Its really a matter of taking your time and repetition, but if you will follow these steps you will be hanging galleries like a pro in no time!